

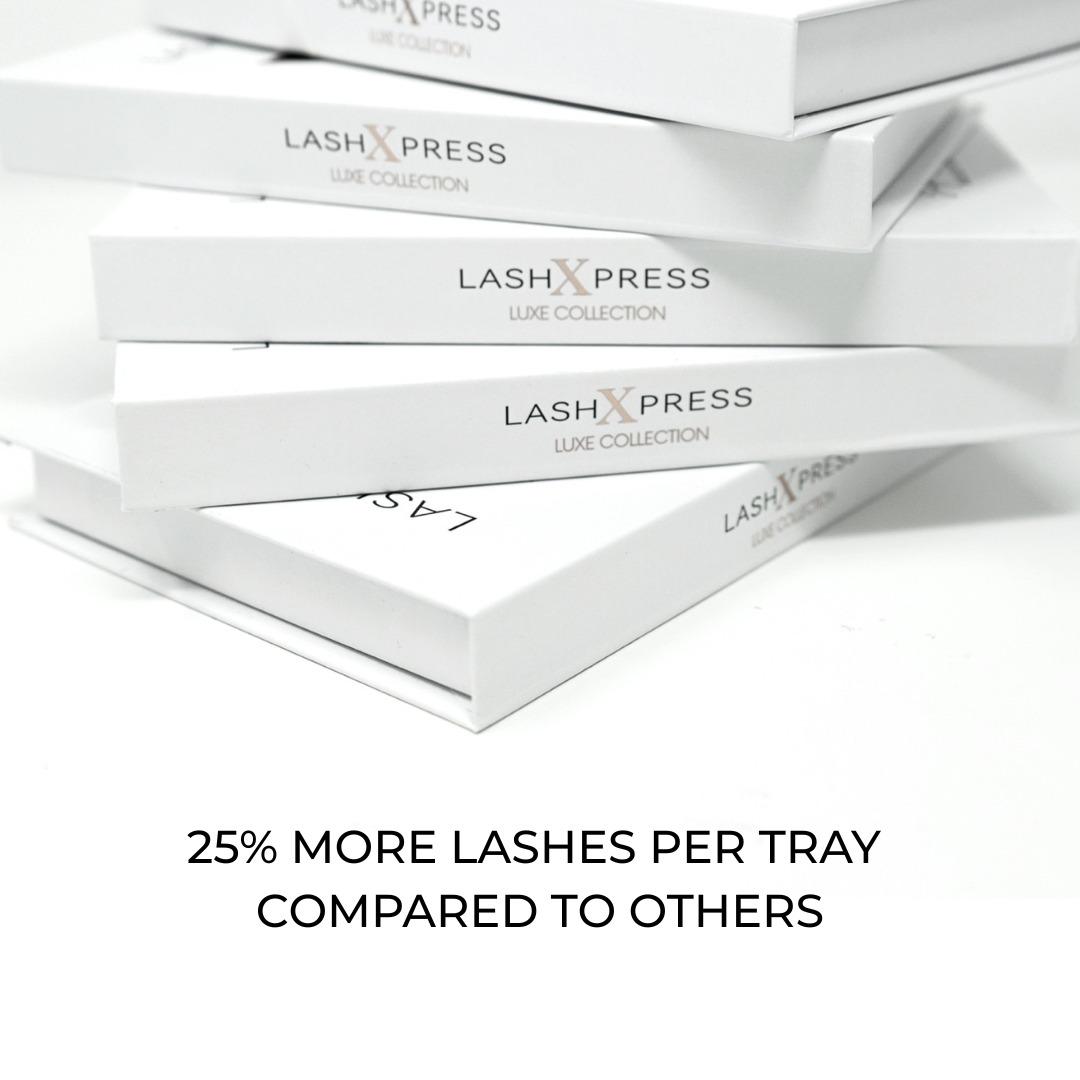
Luxury That Lasts
Effortless beauty, elevated. Because you shouldn’t have to choose between looking glam and saving time. Our products are designed to deliver stunning, long-lasting results in minutes, so you can feel confident and radiant all week long.
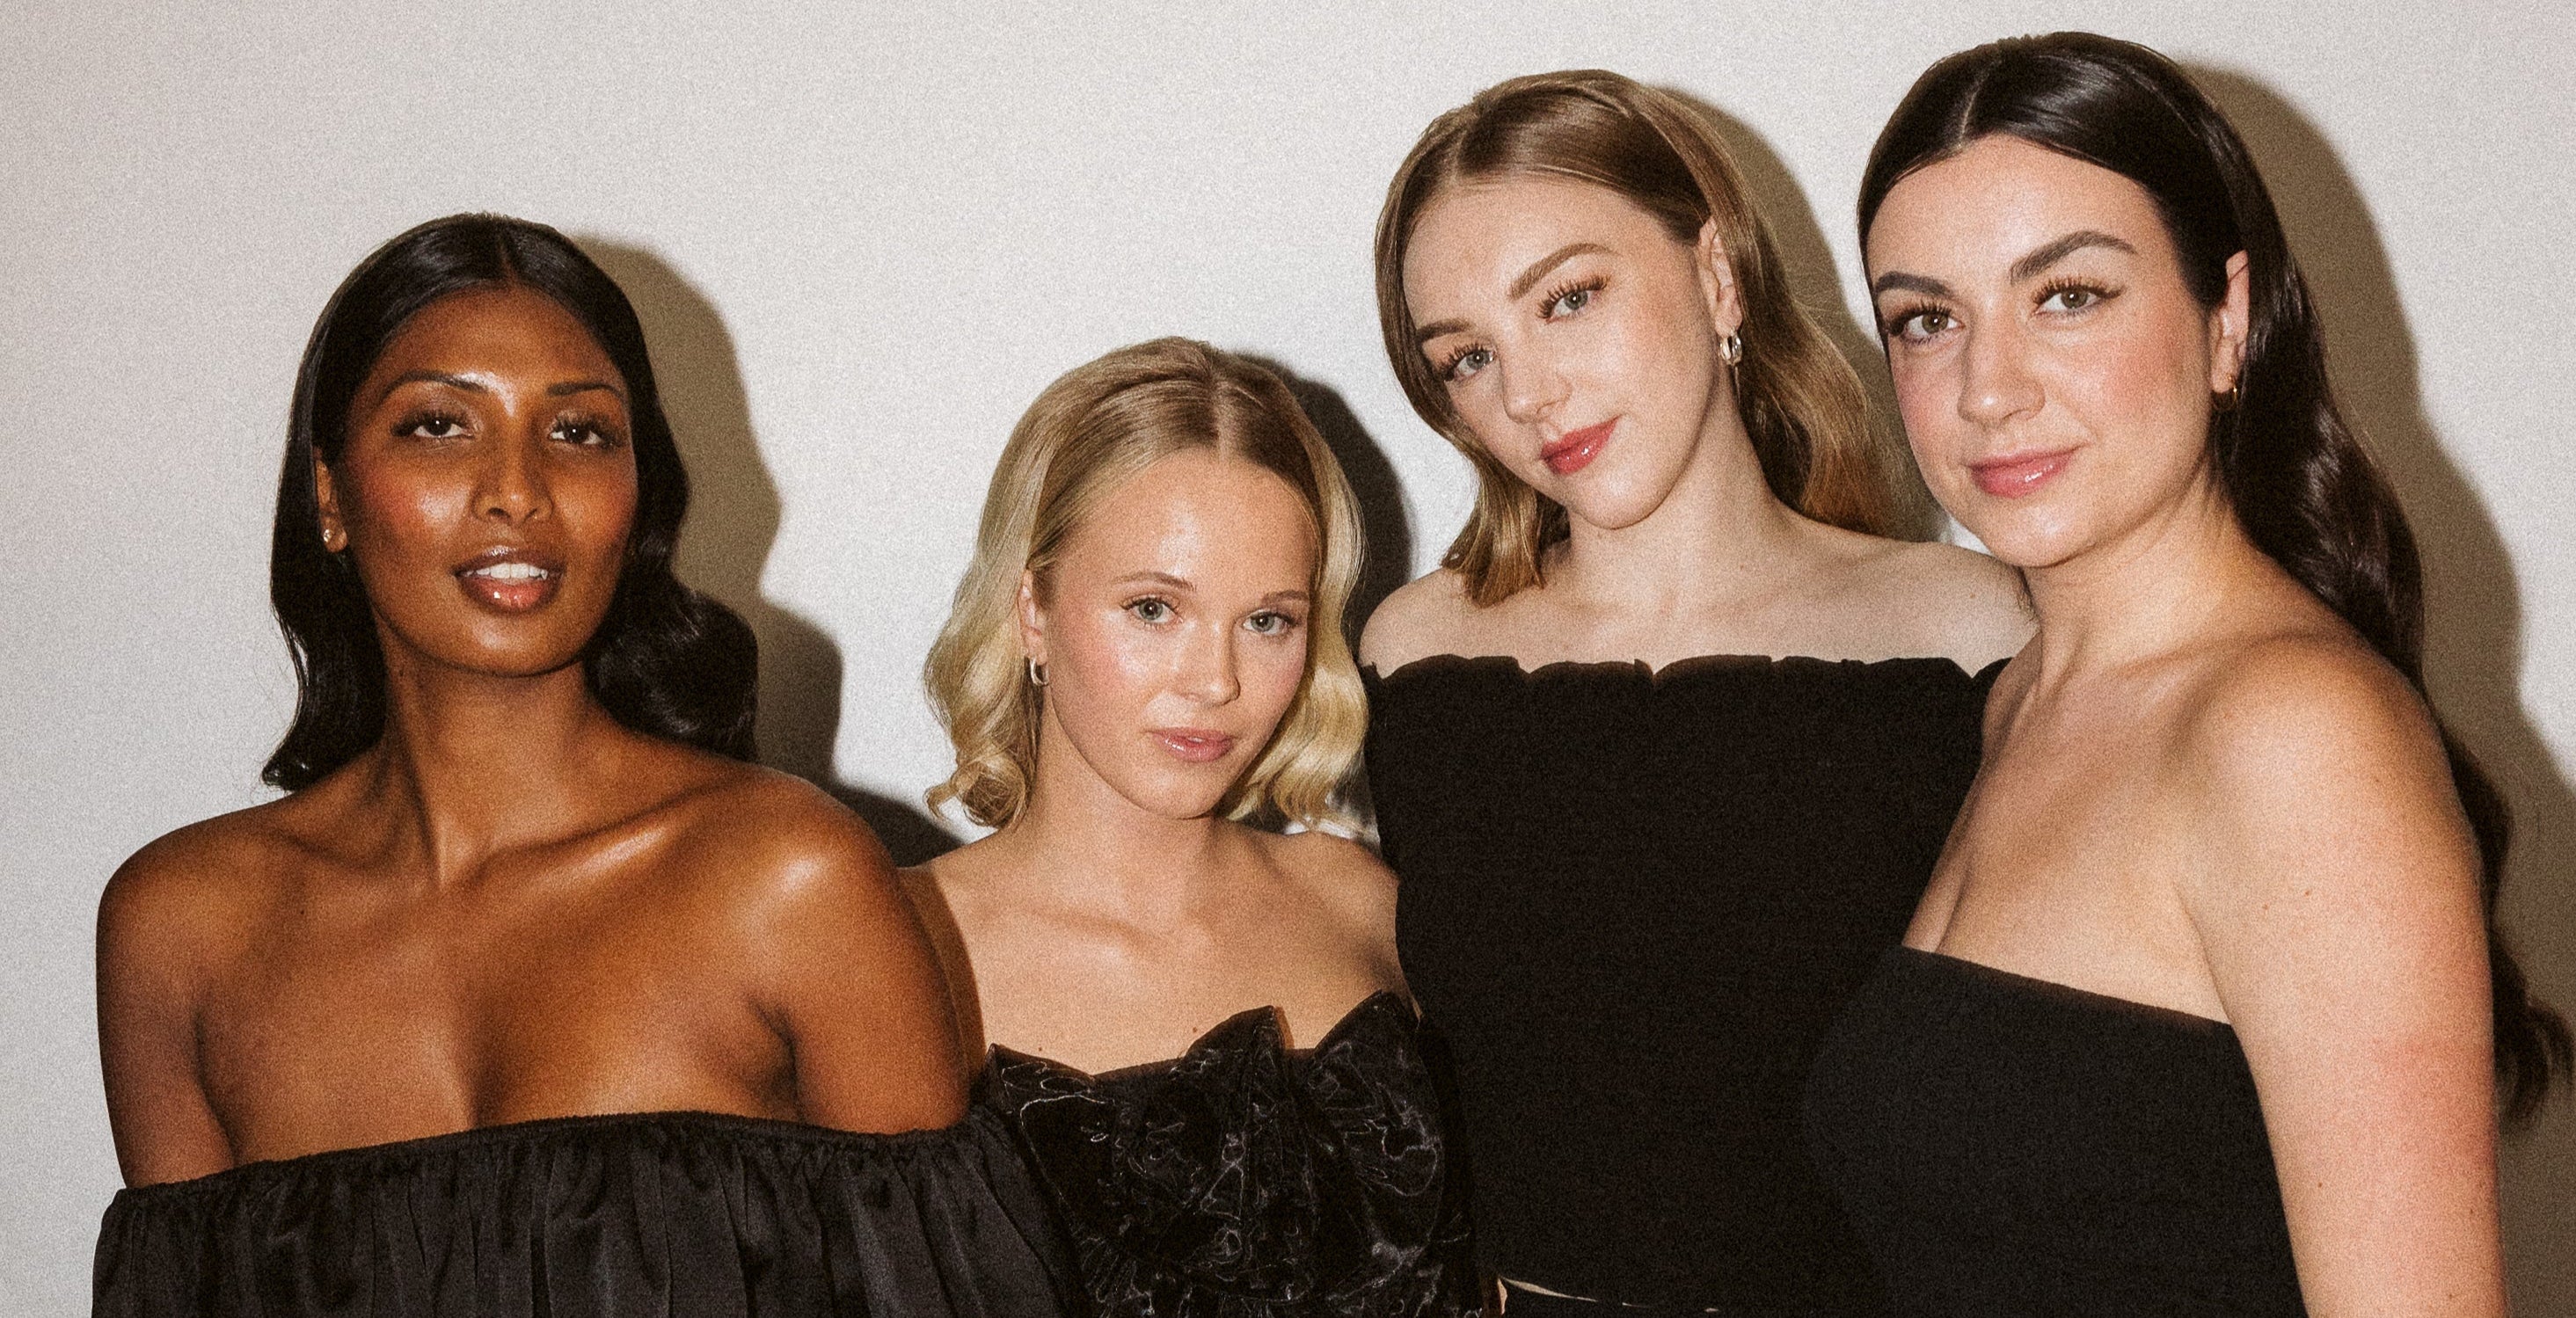
Experience the Hype
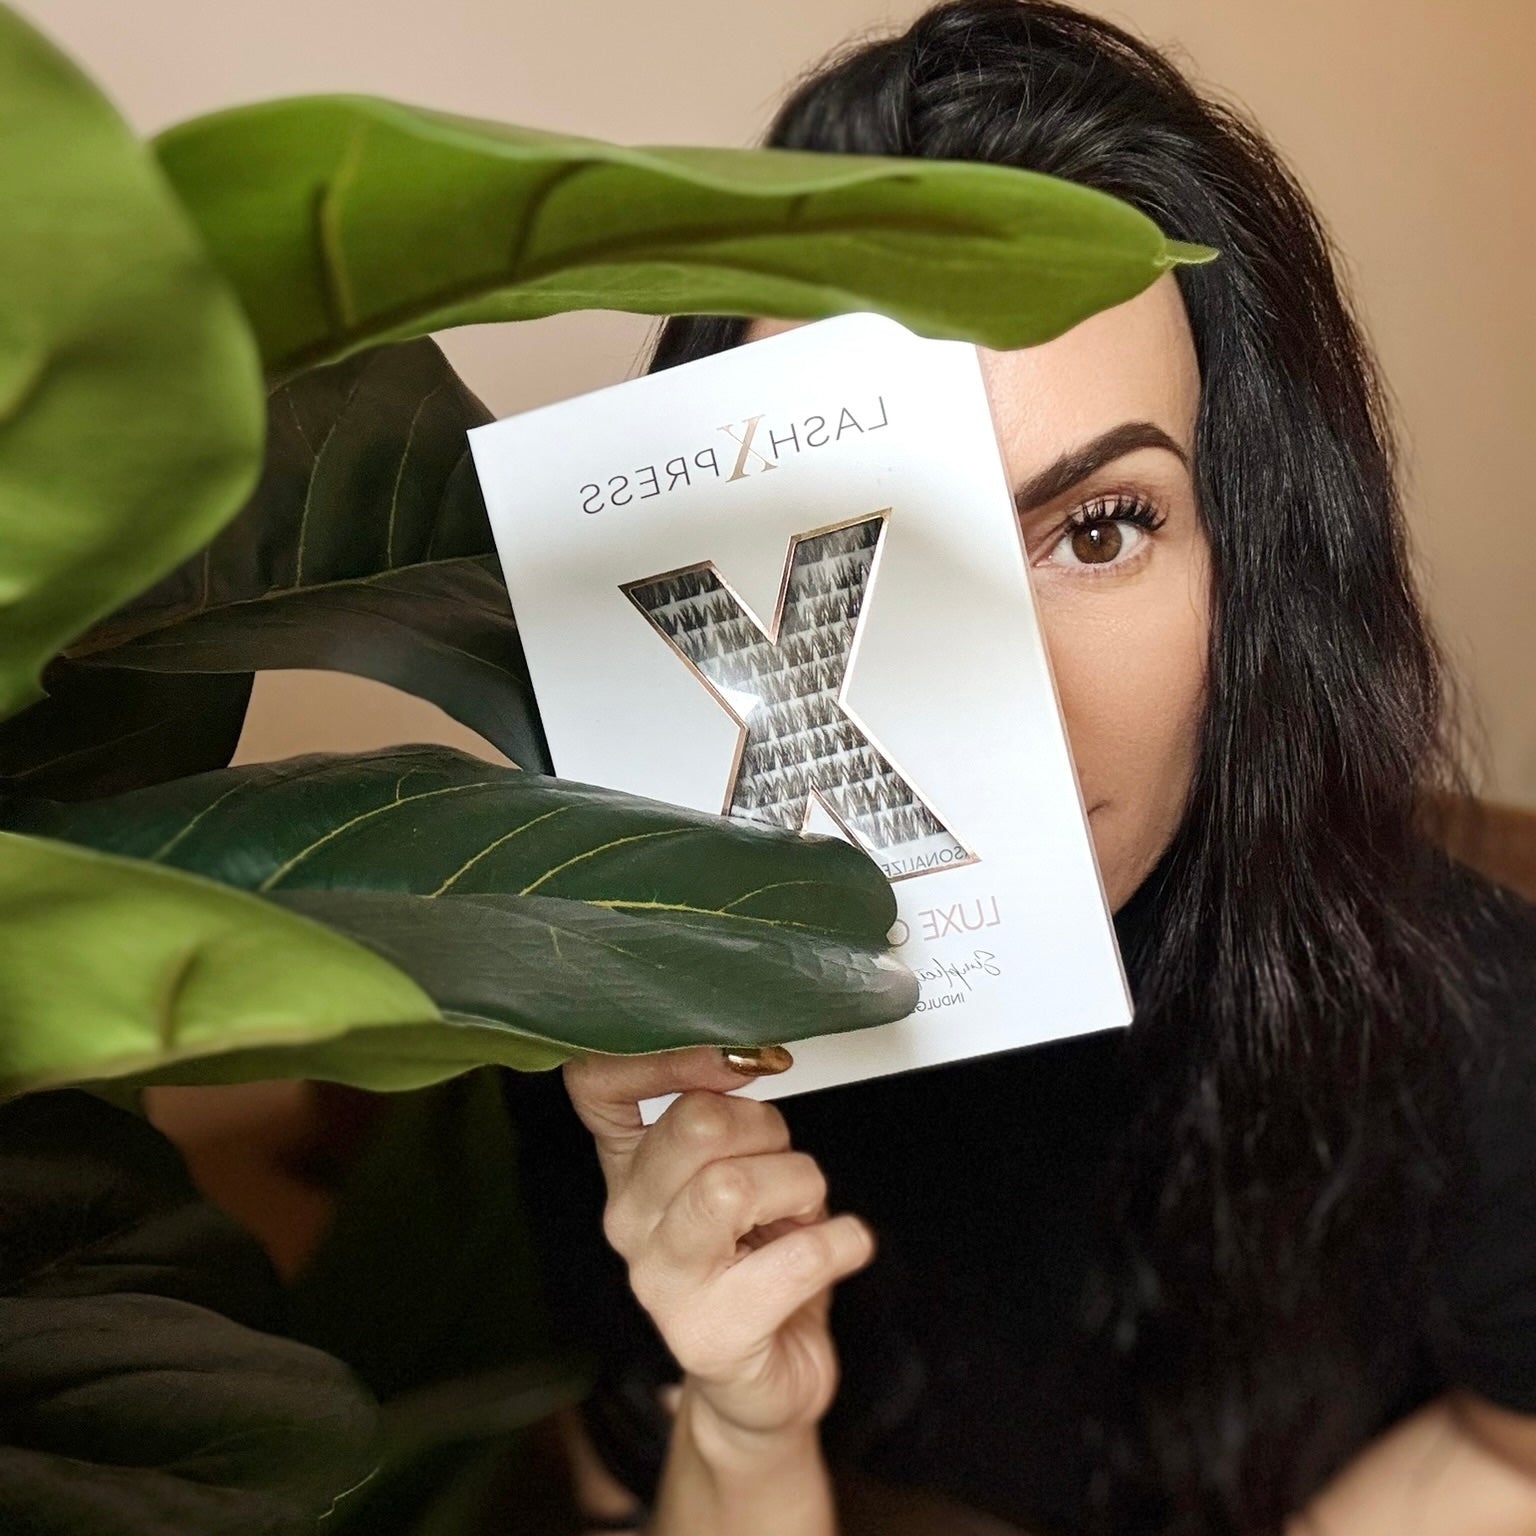
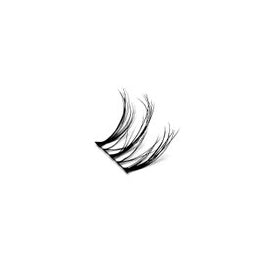
Lashes You Have To Try To Believe
From the first application, you'll understand why everyone's obsessed. Our luxury DIY lashes are designed to go on in minutes and keep you feeling confident for days. Once your try them, there's no turning back. Ready to get lashed in a flash?
Frequently Asked Questions
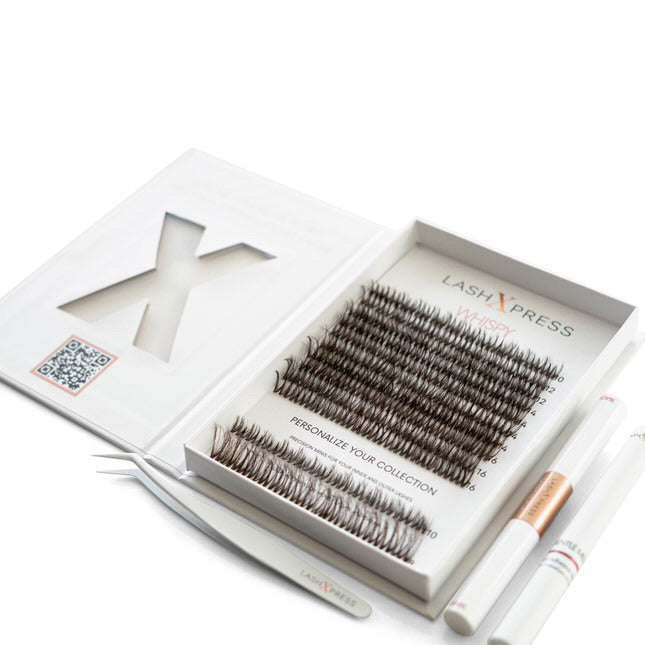
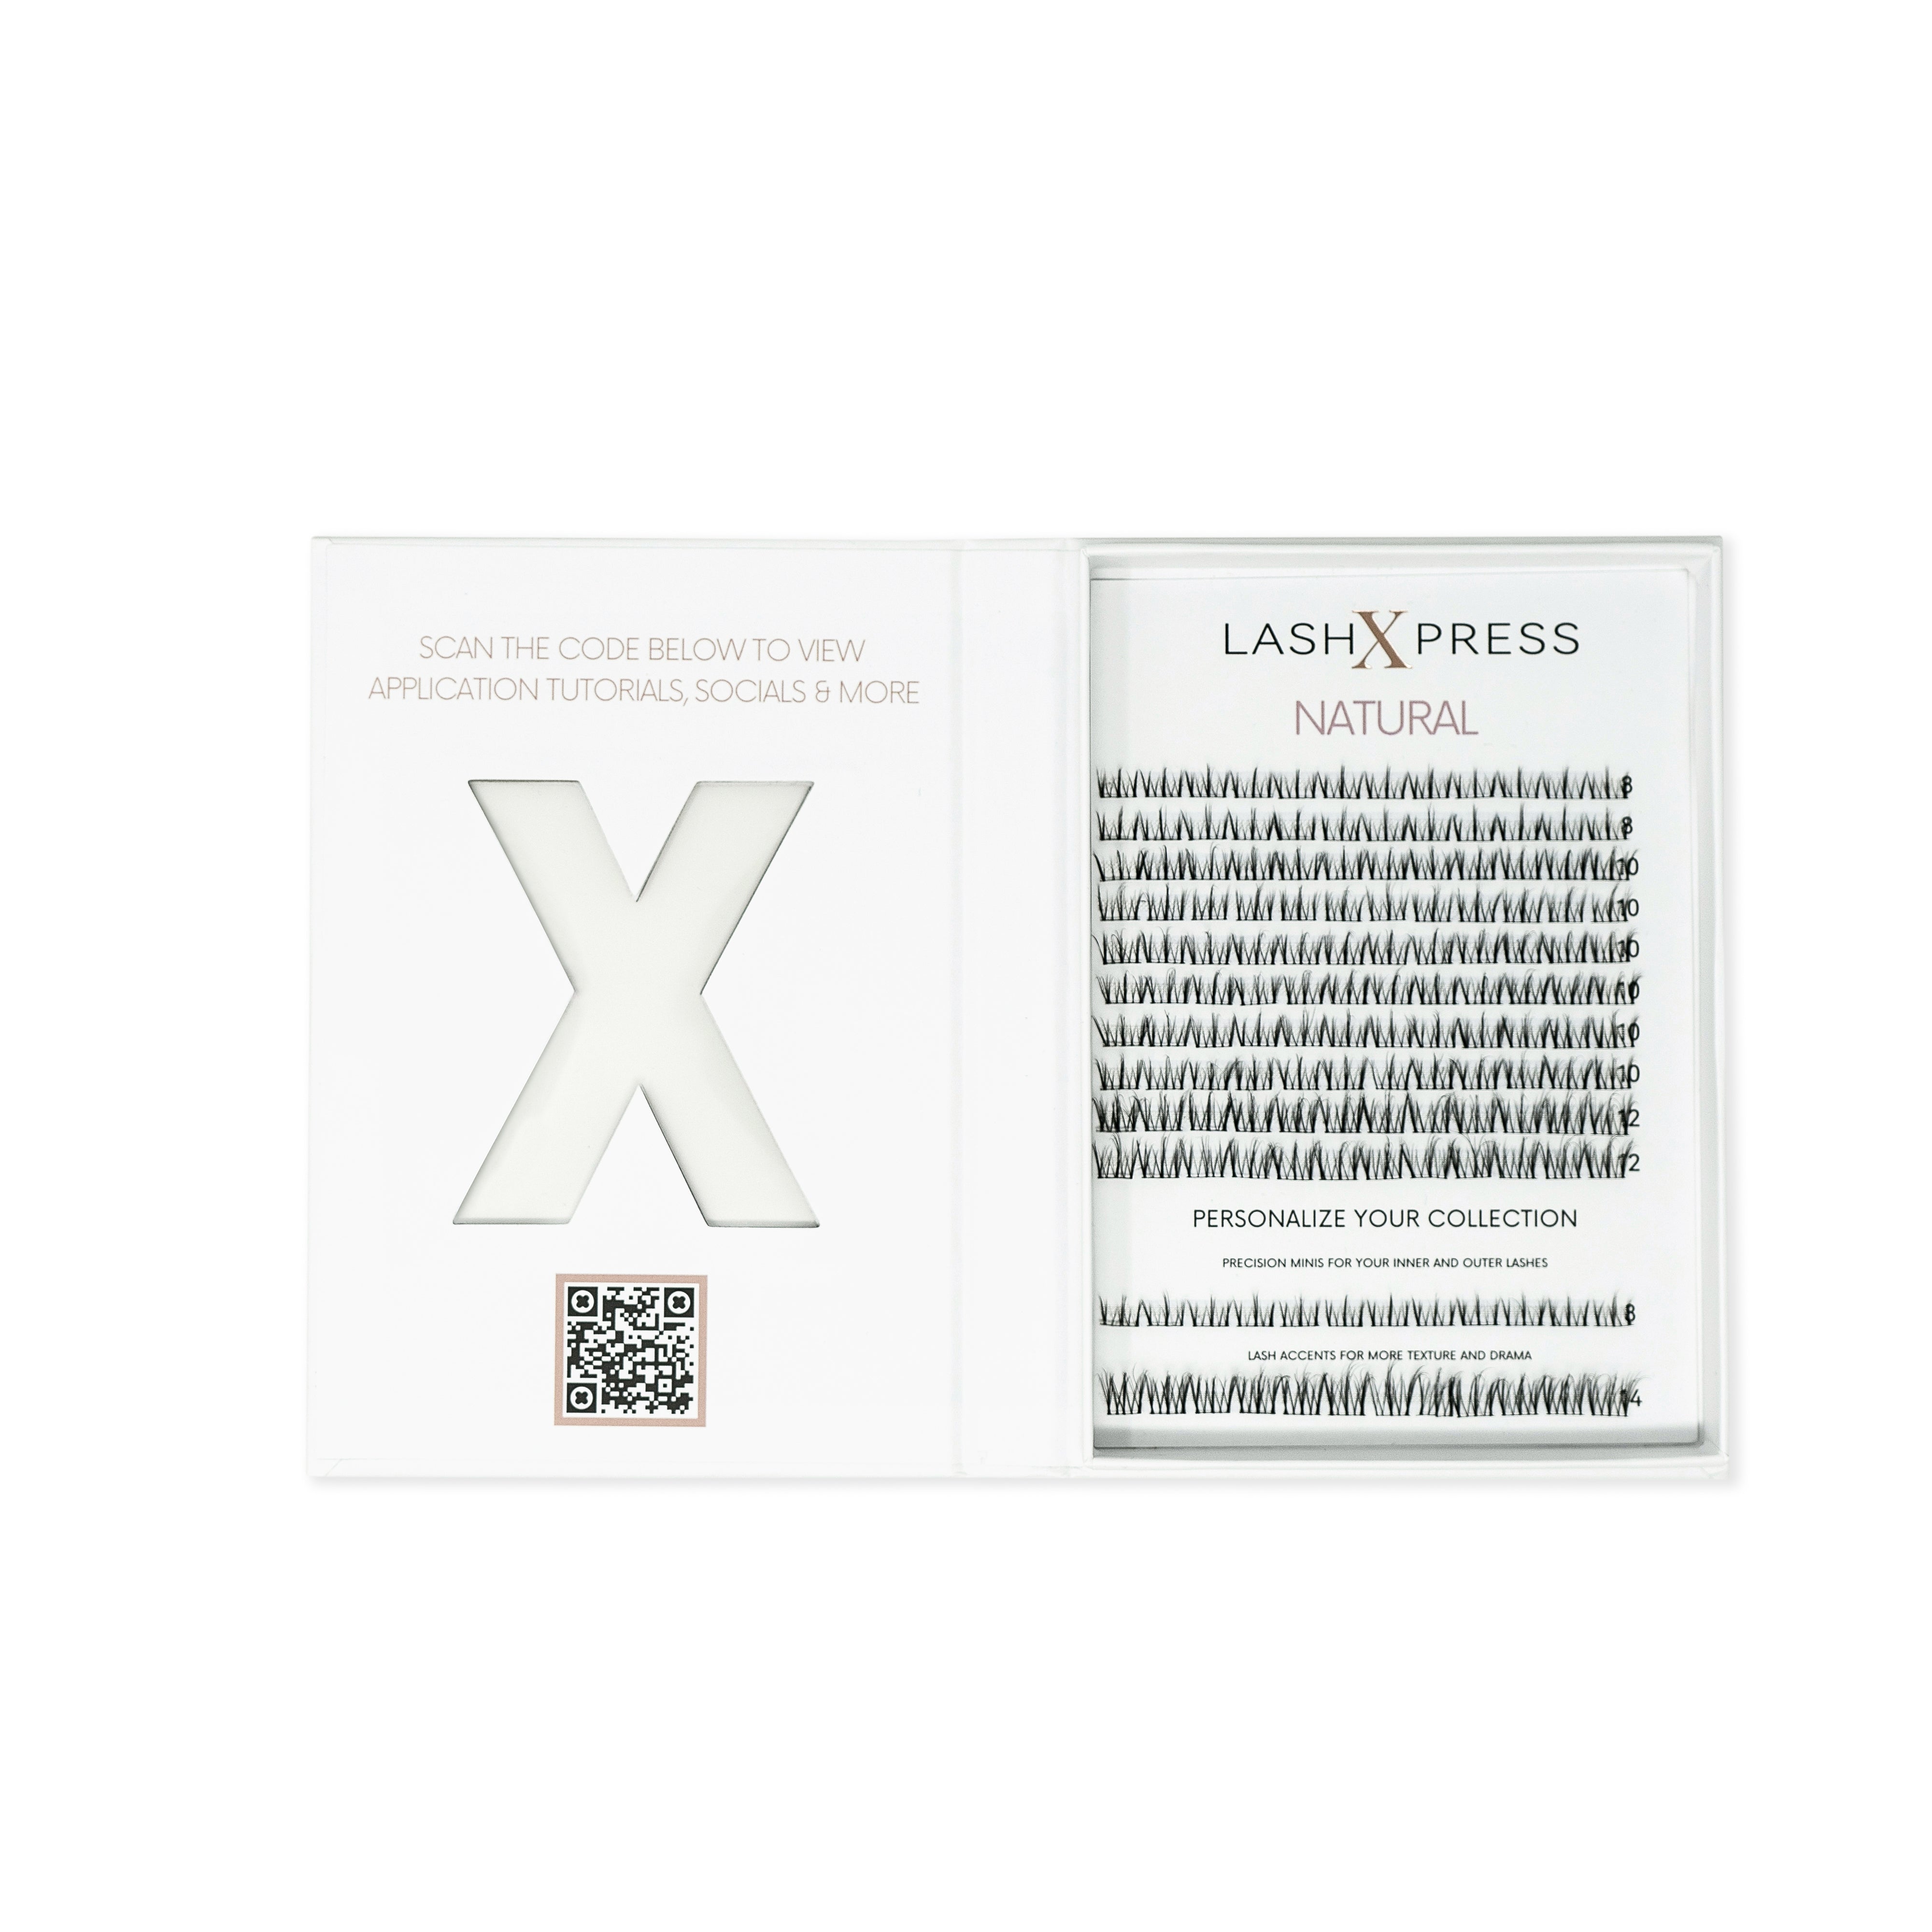
DIY LASHXPRESS is a luxury at-home lash experience designed for modern women who want salon-quality results in minutes. Our espresso-brown lashes are softer and more natural than traditional black, and our tools and formulas are designed with lash health in mind.
Yes! All of our products are developed with clean, gentle ingredients, and our bond is latex-free and safe for most sensitive eyes. However, we always recommend a patch test before full application.
Our FlashLashes are designed to last 5–7 days when applied properly using our DIY LASHXPRESS bond and seal system. We recommend removing them after that window to maintain the health of your natural lashes.
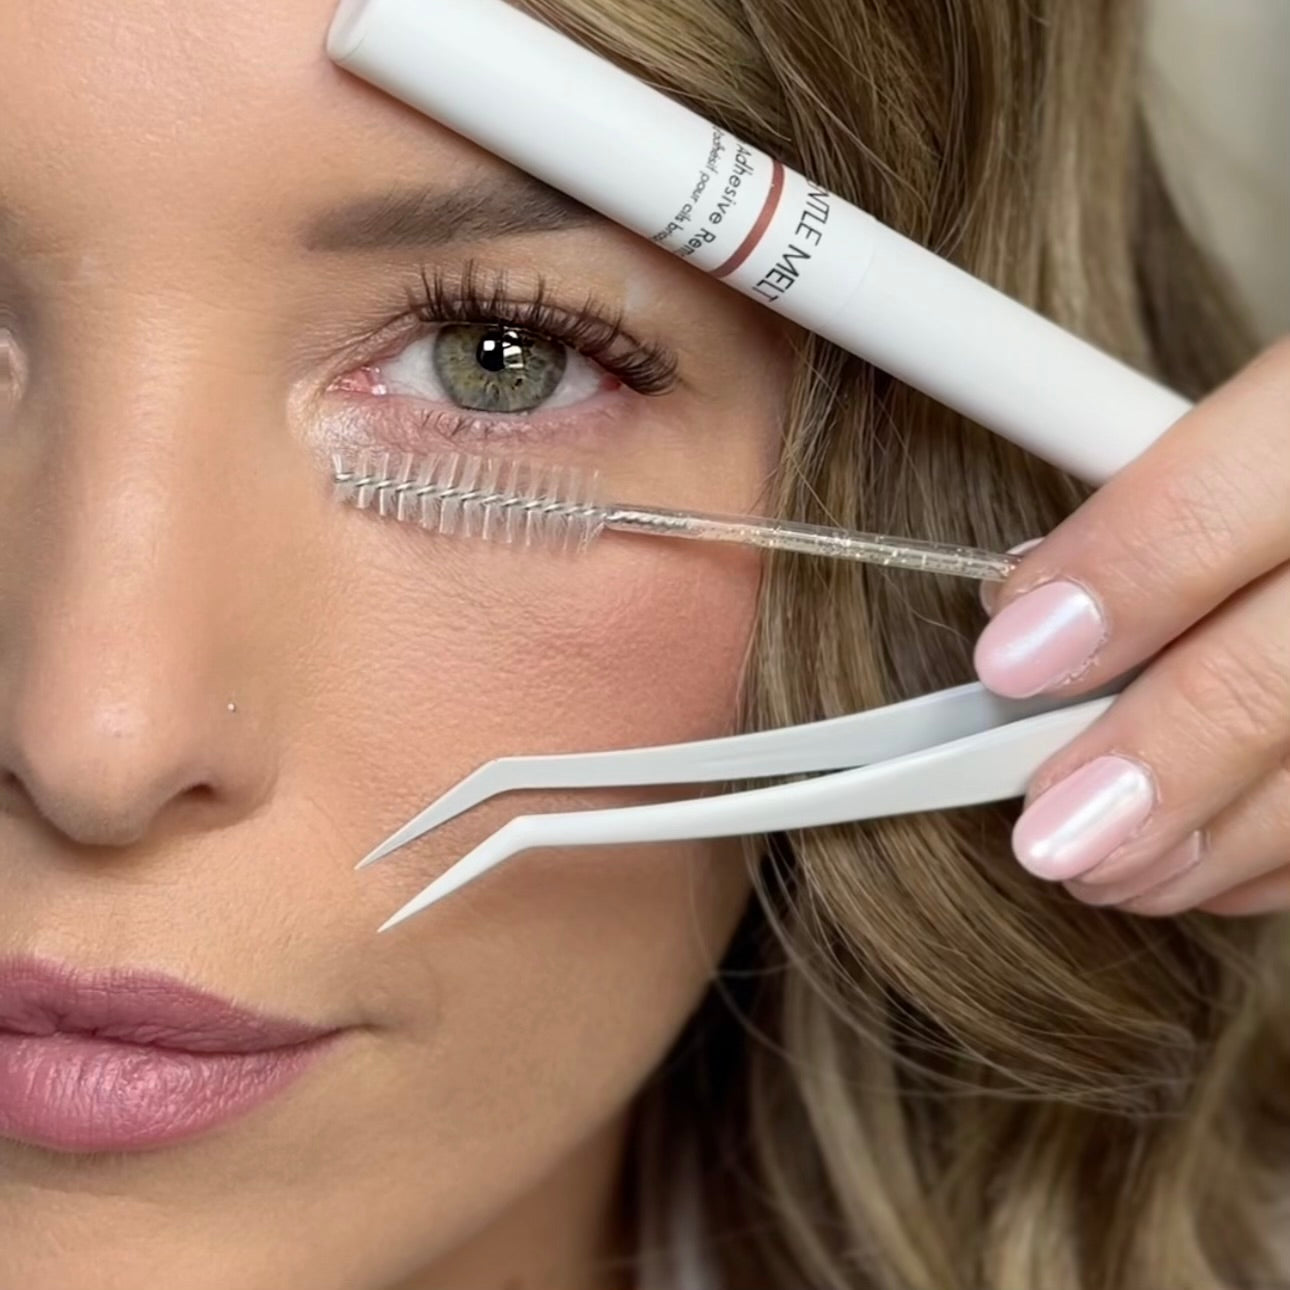
It’s easy! Apply bond to your natural lashes, press on your chosen clusters to the bottom or top of the lash line, then seal.
Yes! Our lashes are water-resistant and sleep-friendly. Just avoid excessive steam and oil-based products near the eyes to extend wear.
Use our remover or a gentle oil-based cleanser. Let it sit for a few seconds, then gently slide the clusters off. Never tug or pull to avoid damaging your natural lashes.
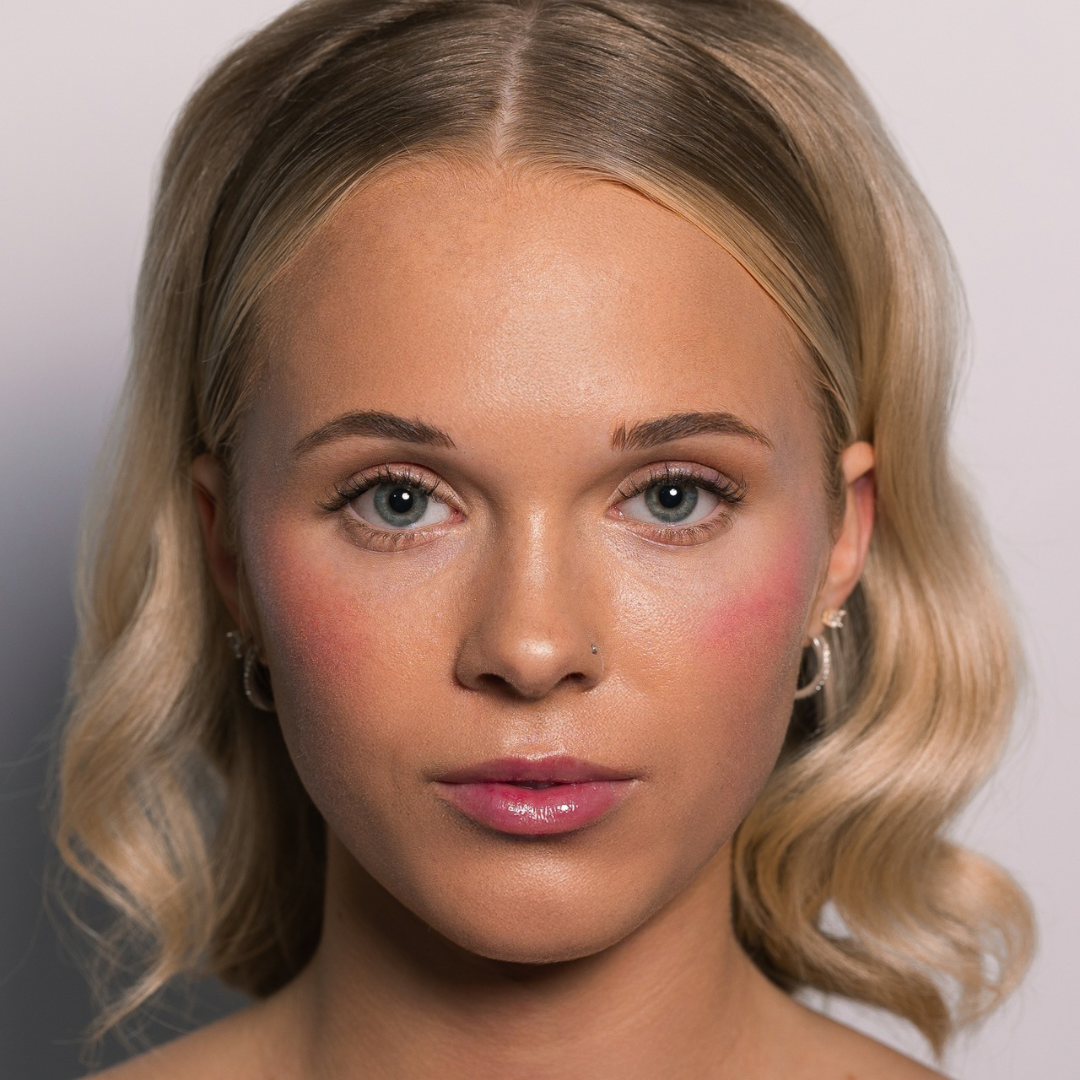
• Natural: Soft, subtle, everyday glam
• Whispy: Feathery, fluttery, romantic vibes
• Bold: Dramatic, full-volume statement lashes
Take our Lash Quiz to find your perfect match!