
How to Make Your DIY Lashes Last Longer: Pro Tips for Extended Wear
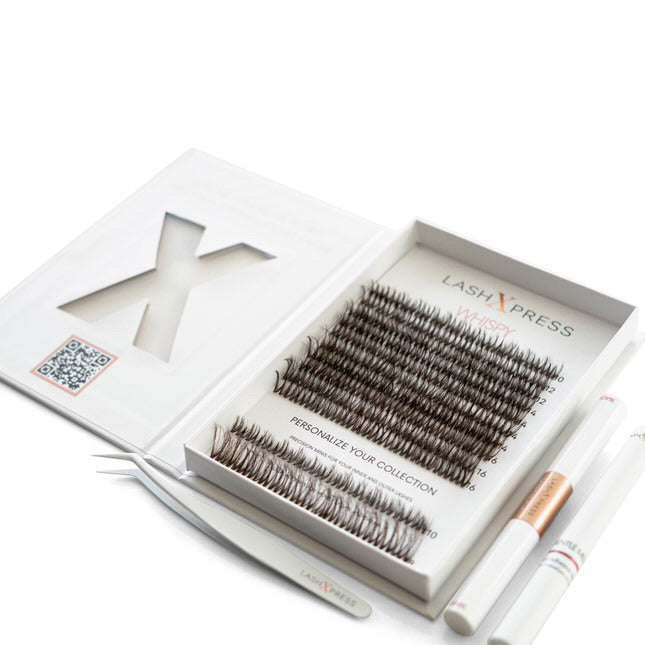
DIY lashes have revolutionized the beauty industry, offering salon-quality looks at a fraction of the cost. With proper care and application, your LashXpress DIY lashes can stay flawless for up to a week, allowing you to enjoy beautiful, long-lasting lashes without daily reapplication. If you want to extend the life of your DIY lashes and keep them looking fresh, follow these expert tips.
Prepping Your Natural Lashes for Maximum Hold
A long-lasting lash application starts with a solid foundation. Properly prepping your natural lashes ensures better adhesion and a stronger hold.
1. Start with a Clean Lash Line
Oils, makeup residue, and dirt can prevent the bond from fully adhering. Before applying DIY lashes, thoroughly cleanse your natural lashes with an oil-free cleanser to remove any impurities.
2. Avoid Oil-Based Products
Oil breaks down lash adhesives, causing premature lifting. Use only water-based or oil-free skincare and makeup products around your eyes to maintain lash longevity.
Choosing the Right Bond & Application Techniques
Not all lash adhesives are created equal, and how you apply them matters just as much as the formula itself.
3. Use the Right Amount of Bond
Too much adhesive can cause clumping, while too little won’t provide enough hold. Apply a thin, even coat of bond to your natural lashes, focusing on the base where the clusters will attach.
4. Let the Bond Get Tacky
Waiting 30-60 seconds before applying the DIY lashes allows the bond to become tacky, ensuring a secure hold without excess movement.
5. Press and Seal for a Strong Hold
After placing your DIY lashes, use an applicator or tweezers to gently press them into place. Sealing the bond creates a strong, long-lasting attachment.
Daily Maintenance to Keep Your Lashes Looking Fresh
Once your lashes are applied, taking care of them properly will help them last for their full wear time.
6. Avoid Excessive Moisture
For the first 24 hours, avoid water, steam, or excessive sweating to allow the bond to fully cure. After this period, gently pat your face dry instead of rubbing your eyes.
7. Sleep on Your Back
Rubbing against your pillow can loosen DIY lashes and cause premature fallout. If possible, sleep on your back or use a silk pillowcase to minimize friction.
Extending Wear Without Damage
While DIY lashes are designed to last several days, you might be tempted to keep them on longer. However, proper removal and reapplication are essential to keeping your natural lashes healthy.
8. Perform Gentle Touch-Ups
If a DIY lash begins to lift, don’t tug on it. Instead, apply a small amount of bond and press it back into place.
9. Avoid Picking or Pulling
Picking at your lashes can cause damage to your natural lashes. If your lashes are ready to be removed, follow the proper removal process instead of pulling them off.
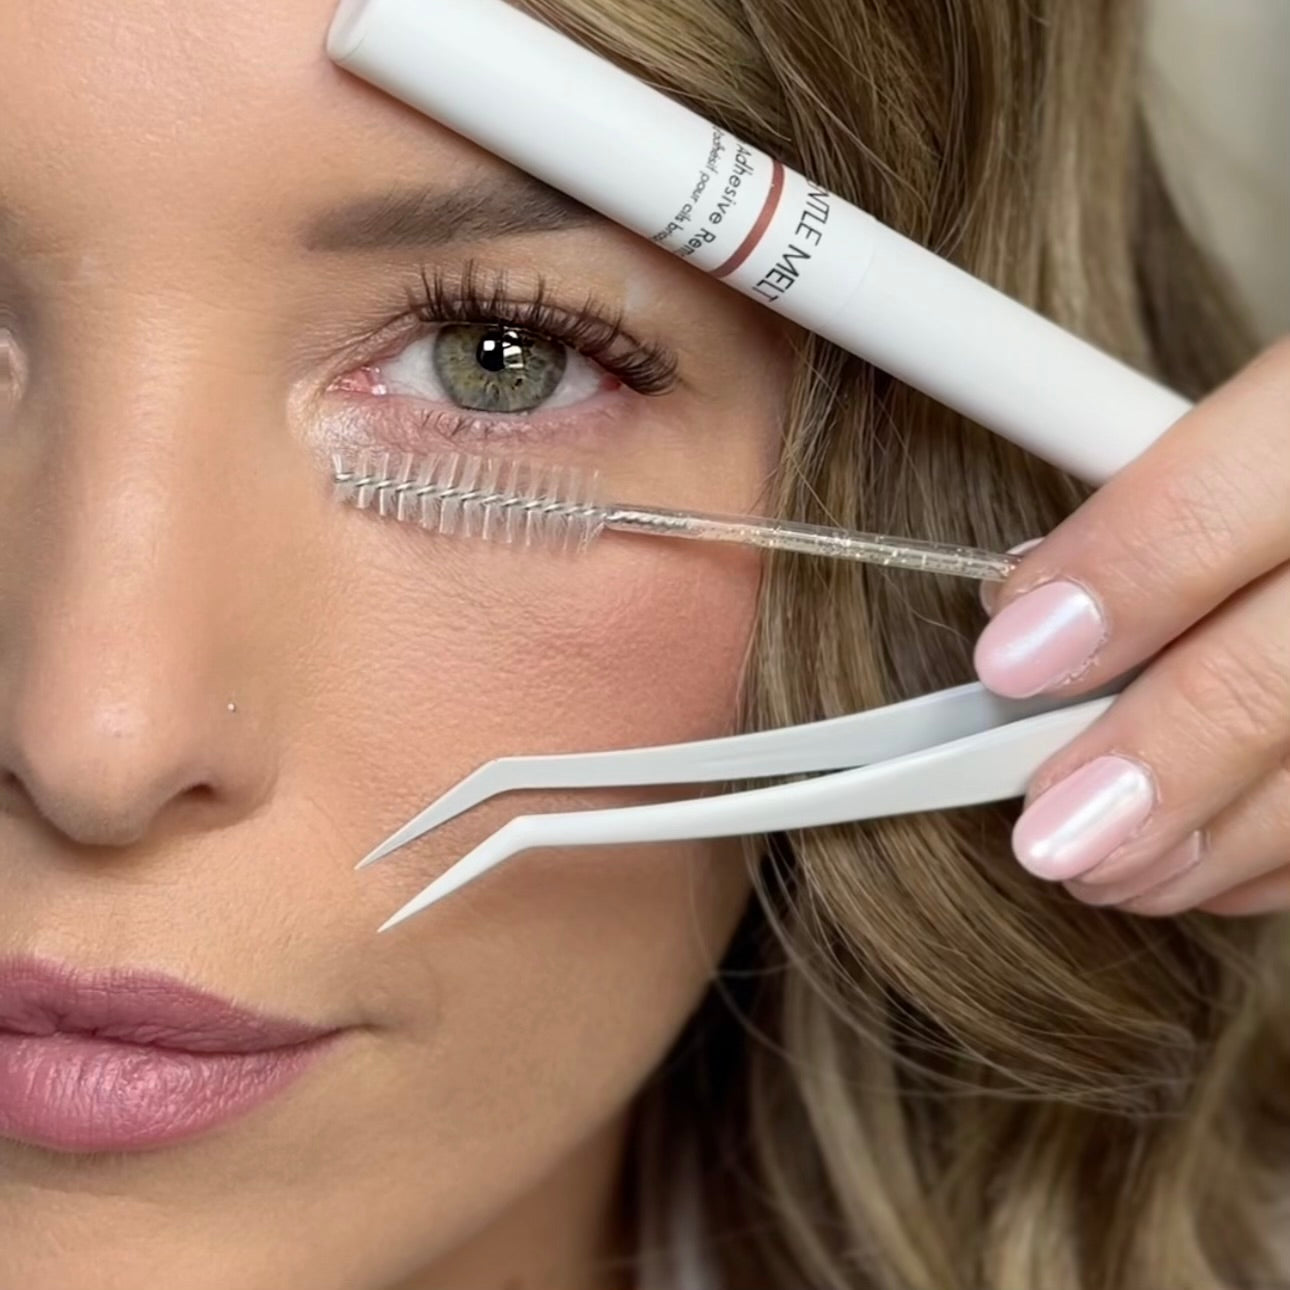
10. Use a Lash-Safe Remover
When it’s time to take your lashes off, use a gentle remover like LashXpress Gentle Melt to dissolve the adhesive without tugging or damaging your natural lashes.
Final Thoughts
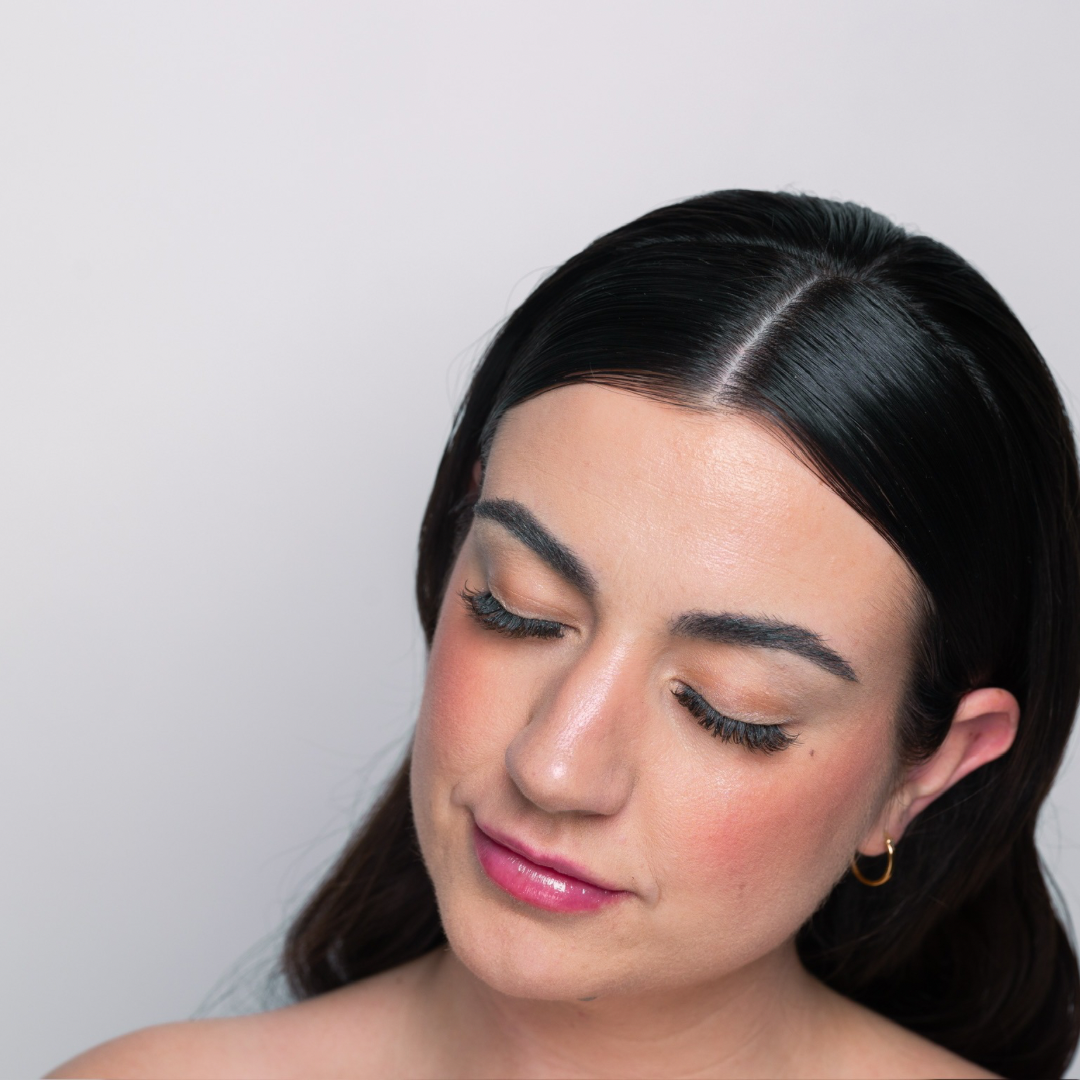
With the right techniques and daily care, your LashXpress DIY lashes can stay flawless for up to a week. By prepping correctly, applying with precision, and maintaining them properly, you’ll enjoy long-lasting, gorgeous lashes without the hassle of daily application.
Try these expert tips, and experience the beauty of long-lasting DIY lashes with LashXpress!