
Why Removing DIY Lashes After 5-7 Days Is Crucial for Lash Health

One of the biggest perks of DIY lashes is their long wear time. However, keeping them on too long can negatively affect your natural lashes. Here’s why we always recommend removing them after 5-7 days.
Understanding the Lash Growth Cycle
Your natural lashes go through three distinct phases:
- Anagen (Growth Phase): New lashes grow in.
- Catagen (Transition Phase): Lashes stop growing and prepare to shed.
- Telogen (Resting Phase): Lashes naturally fall out to make room for new growth.
Keeping DIY lashes on for too long can cause premature shedding and disrupt this cycle, leading to thinner, weaker natural lashes over time.
Preventing Buildup & Irritation
Even with proper cleaning, wearing lashes for an extended period can lead to oil, dirt, and product buildup. This can cause:
- Clogged follicles: Preventing healthy lash growth.
- Bacterial infections: Irritation, redness, and even lash mites.
- Weakened natural lashes: Excessive weight on your natural lashes can make them brittle and more prone to breakage.
By removing your DIY lashes within the recommended timeframe, you allow your natural lashes to breathe and regenerate properly.
Avoiding Damage to Natural Lashes
Long-term wear can put strain on your natural lashes. If the lash clusters are left on too long, they can:
- Weigh down delicate lash hairs, causing premature fallout.
- Trap dirt and oils, which weakens lash roots.
- Lead to breakage if removal is attempted without proper care.
By regularly removing your DIY lashes, you keep your natural lashes strong and healthy.
The Right Way to Remove Your Lashes
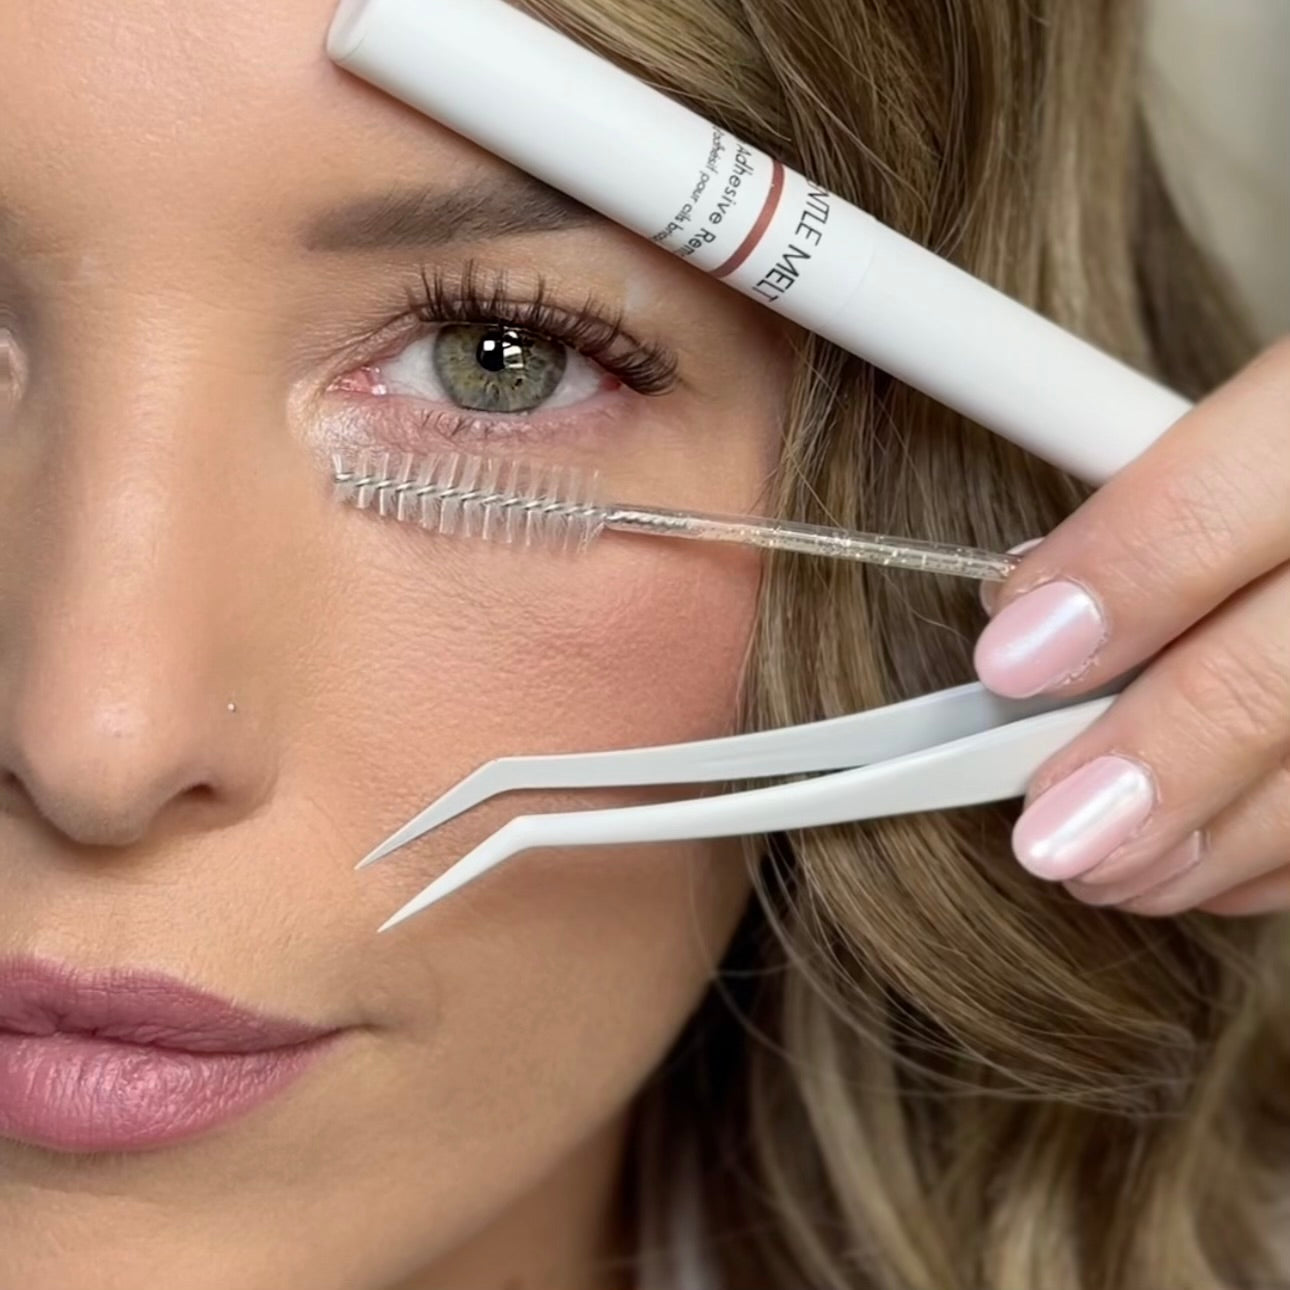
To keep your lashes in the best condition, always remove them with a gentle remover like our Gentle Melt. Proper removal prevents damage and ensures an easy, pain-free experience.
Steps for Safe Removal:
1. Apply Gentle Melt Remover: Use a lint-free applicator or cotton pad to apply the remover along the lash band.
2. Let It Sit: Give the remover 30-60 seconds to dissolve the adhesive.
3. Gently Slide DIY Lashes: Using tweezers or your fingertips, remove the lashes without tugging or pulling.
4. Cleanse Your Lash Line: Wash away any residue with a gentle, oil-free cleanser.
5. Hydrate & Nourish: Apply a lash serum to condition and strengthen your natural lashes.
Best Practices for Long-Term Lash Health
To maintain healthy, strong lashes while enjoying DIY lash extensions, follow these guidelines:
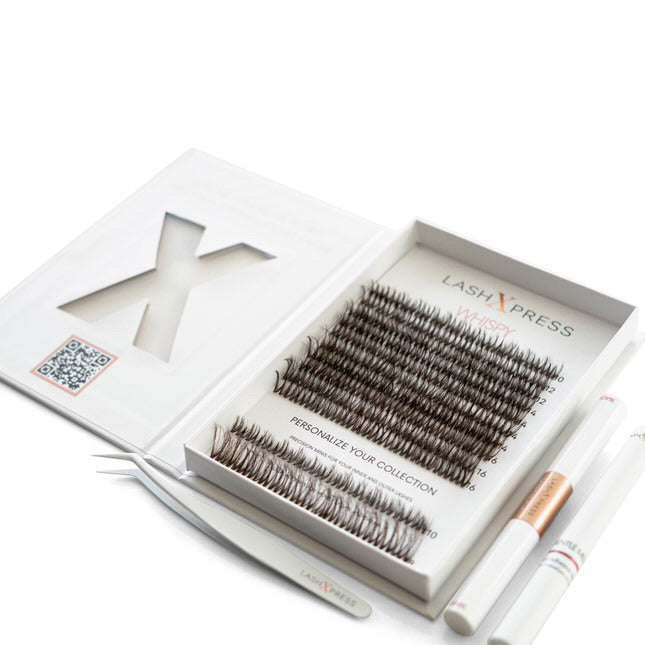
- Use High-Quality Products: Choose lightweight DIY lashes and safe adhesives.
- Practice Proper Removal: Never pull or tug at your lashes.
- Moisturize & Strengthen: Use lash serums to keep your natural lashes in optimal condition.
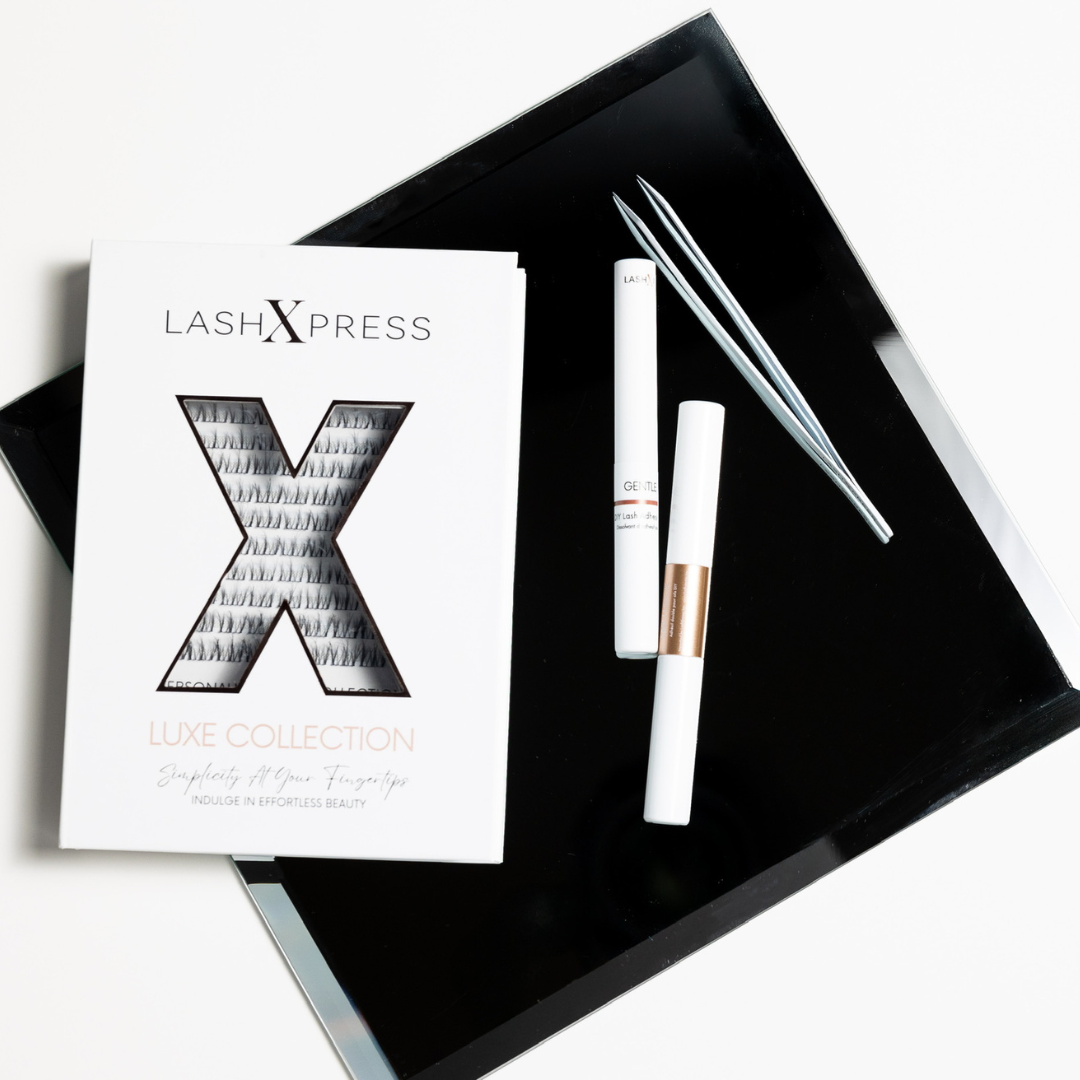
The LashXpress Difference
At LashXpress, we prioritize both beauty and lash health. Our lightweight, high-quality DIY lashes are designed for easy application and removal, making them the perfect choice for lash lovers who want effortless beauty without compromising their natural lashes.
Why Choose LashXpress Lashes?
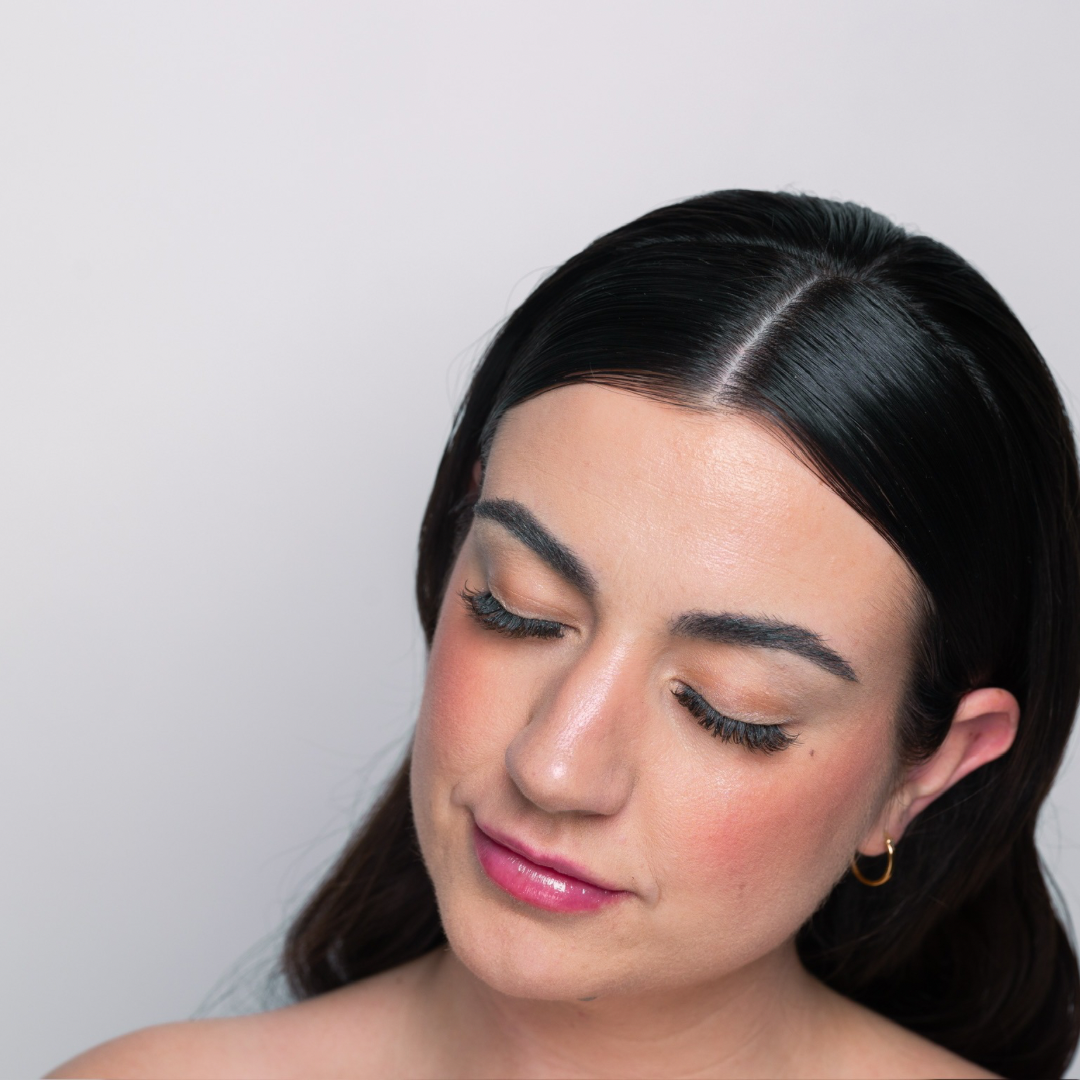
- Lightweight & Comfortable: Designed for all-day wear without strain.
- Easy to Apply & Remove: No tugging, no damage.
- Safe & Effective Adhesives: Long-lasting yet easy to dissolve when needed.
- Lash-Safe Remover: Gentle Melt ensures stress-free removal without harming your natural lashes.
Final Thoughts
DIY lashes are an incredible beauty hack, but they require proper care. By removing your DIY lashes every 5-7 days, you protect your natural lashes, prevent buildup, and maintain overall lash health.
Take care of your lashes, and they’ll keep you looking effortlessly stunning. Try LashXpress today and experience the perfect balance of beauty and lash safety!